自建代码托管平台-GitLab
1. GitLab 简介
GitLab 是由 GitLabInc 开发,使用 MIT 许可证的基于网络的 Git 仓库管理工具,且具有 wiki 和 issue 跟踪功能。使用 Git 作为代码管理工具,并在此基础上搭建起来的 web 服务。
GitLab 由乌克兰程序员 DmitriyZaporozhets 和 ValerySizov 开发,它使用 Ruby 语言写成。后来,一些部分用 Go 语言进行重写。截止 2018 年 5 月,该公司约有 290 名团队成员,以及 2000 多名开源贡献者。GitLab 被 IBM,Sony,JulichResearchCenter,NASA,Alibaba,Invincea,O’ReillyMedia,Leibniz-Rechenzentrum(LRZ),CERN,SpaceX 等组织使用。
2. GitLab 官网地址
3. GitLab 安装
3.1 服务器准备
- 准备一个系统为 CentOS7 以上版本的服务器,要求内存 4 G,磁盘 50 G
- 关闭防火墙,并且配置好主机名和 IP,保证服务器可以上网
3.2 安装包准备
Yum 在线安装 gitlab-cc 时,需要下载几百 M 的安装文件,非常耗时,所以最好提前把所需 RPM 包下载到本地,然后使用离线 rpm 的方式安装
- GitLab 官网下载地址:https://packages.gitlab.com/gitlab/gitlab-ce
- 清华大学开源软件镜像站(推荐,下载速度快)

拿到 rpm 包后,上传到服务器的 /opt/module 目录
3.3 编写安装脚本
安装 gitlab 步骤比较繁琐,因此我们可以参考官网编写 gitlab 的安装脚本
[root@iZbp1he64xoa8bsarsqawsZ module]# vim gitlab-install.sh
sudo rpm -ivh /opt/module/gitlab-ce-14.4.2-ce.0.el8.x86_64.rpm
sudo yum install -y curl policycoreutils-python openssh-server cronie
sudo lokkit -s http -s ssh
sudo yum install -y postfix
sudo service postfix start
sudo chkconfig postfix on
curl https://packages.gitlab.com/install/repositories/gitlab/gitlab-ce/script.rpm.sh | sudo bash
sudo EXTERNAL_URL="http://116.62.232.164:9091" yum -y install gitlab-ce
给脚本增加执行权限
[root@iZbp1he64xoa8bsarsqawsZ module]# chmod +x gitlab-install.sh
[root@iZbp1he64xoa8bsarsqawsZ module]# ll
total 869296
drwxr-xr-x 6 root root       134 Sep 27 13:08 apache-zookeeper-3.5.7-bin
-rw-r--r-- 1 root root 890154811 Nov 15 10:03 gitlab-ce-13.10.2-ce.0.el7.x86_64.rpm
-rwxr-xr-x 1 root root       417 Nov 15 10:13 gitlab-install.sh
然后执行该脚本,开始安装 gitlab-ce,注意一定要保证服务器可以上网。
[root@iZbp1he64xoa8bsarsqawsZ module]# ./gitlab-install.sh
warning: /opt/module/gitlab-ce-14.4.2-ce.0.el8.x86_64.rpm: Header V4 RSA/SHA256 Signature, key ID f27eab47: NOKEY
Verifying...                          ################################# [100%]
Preparing...                          ################################# [100%]
Updating / installing...
   1:gitlab-ce-14.4.2-ce.0.el8        ################################# [100%]
......
Dependencies resolved.
Nothing to do.
Complete!
3.4 修改 GitLab 默认端口号
vim /etc/gitlab/gitlab.rb

vim /opt/gitlab/embedded/service/gitlab-rails/config/gitlab.yml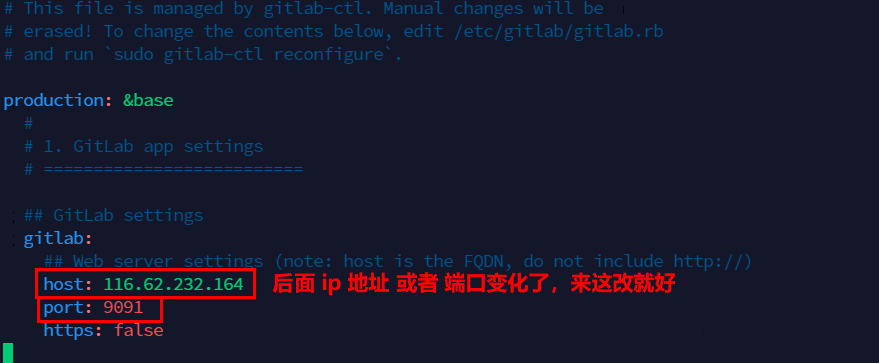
3.5 初始化 GitLab 服务
执行以下命令初始化 GitLab 服务,过程大概需要几分钟,耐心等待...
[root@iZbp1he64xoa8bsarsqawsZ module]# gitlab-ctl reconfigure
Starting Chef Infra Client, version 15.17.4
resolving cookbooks for run list: ["gitlab"]
Synchronizing Cookbooks:
  - gitlab (0.0.1)
  ...
gitlab Reconfigured!
3.6 启动 GitLab 服务
执行以下命令启动 GitLab 服务,如需停止,执行 gitlab-ctl stop
[root@iZbp1he64xoa8bsarsqawsZ module]# gitlab-ctl start
ok: run: alertmanager: (pid 626212) 578s
ok: run: gitaly: (pid 626254) 577s
ok: run: gitlab-exporter: (pid 626183) 581s
ok: run: gitlab-workhorse: (pid 626156) 582s
ok: run: grafana: (pid 626235) 578s
ok: run: logrotate: (pid 625082) 785s
ok: run: nginx: (pid 627585) 2s
ok: run: node-exporter: (pid 626171) 582s
ok: run: postgres-exporter: (pid 626228) 578s
ok: run: postgresql: (pid 625304) 762s
ok: run: prometheus: (pid 626193) 580s
ok: run: puma: (pid 625483) 701s
ok: run: redis: (pid 625119) 779s
ok: run: redis-exporter: (pid 626186) 580s
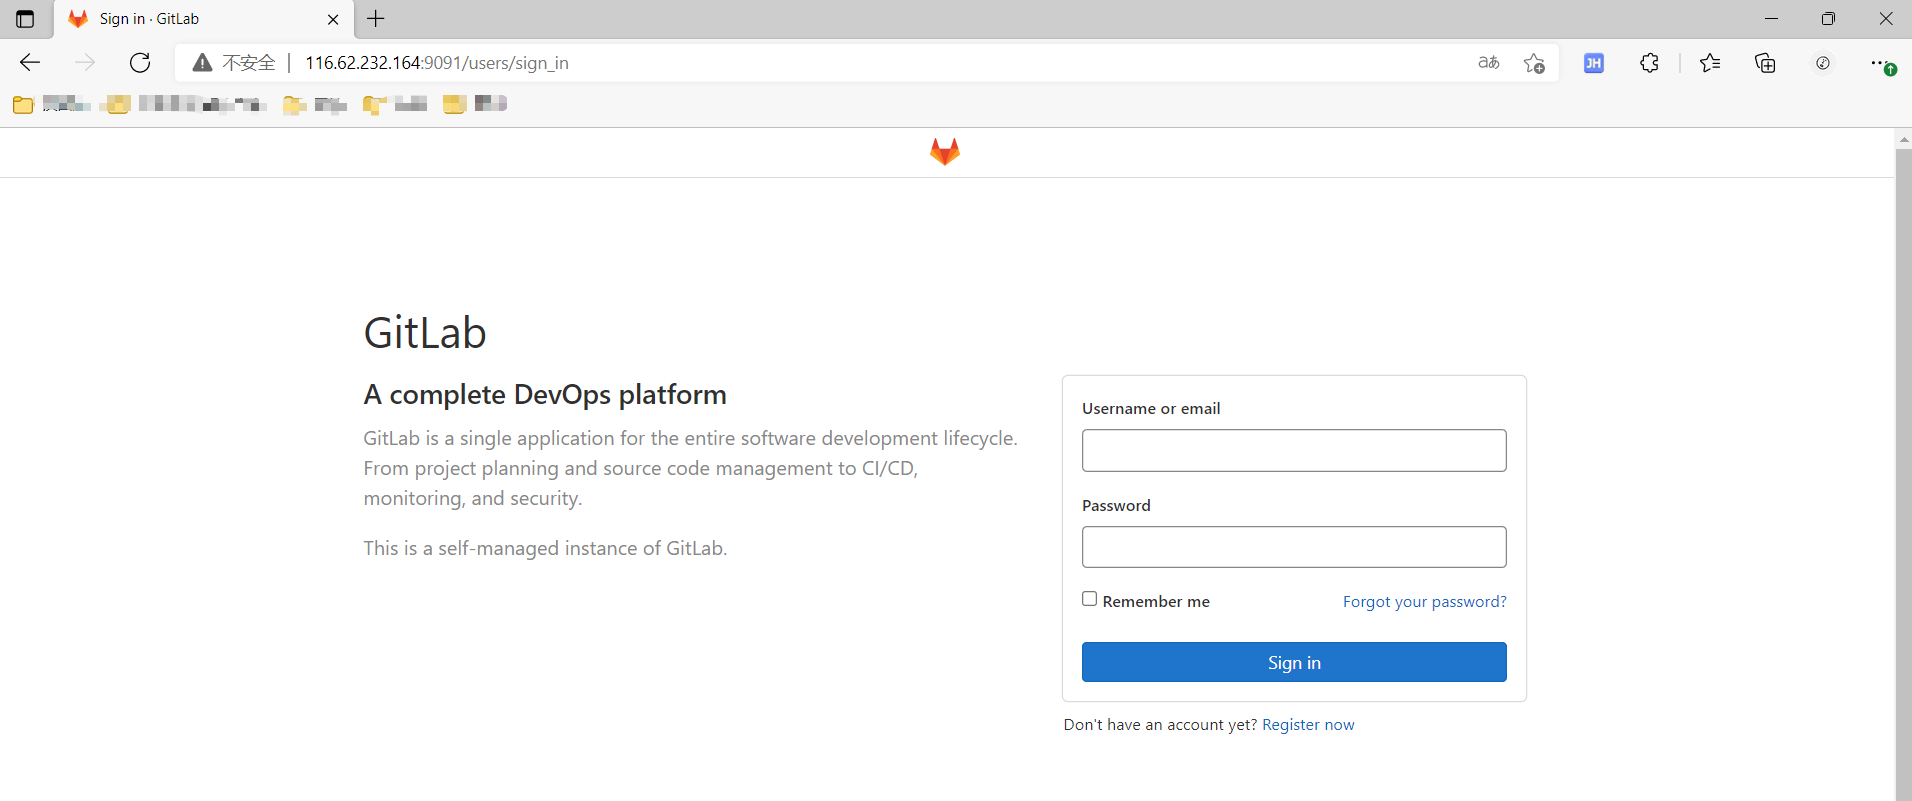
ok: run: sidekiq: (pid 625501) 695s3.7 使用浏览器访问 GitLab
gitlab-ce-14 初装以后,把密码放在了一个临时文件中【/etc/gitlab/initial_root_password】
这个文件将在首次执行 reconfigure 后 24 小时自动删除
[root@iZbp1he64xoa8bsarsqawsZ module]# cat /etc/gitlab/initial_root_password
# WARNING: This value is valid only in the following conditions
# 1. If provided manually (either via `GITLAB_ROOT_PASSWORD` environment variable or via `gitlab_rails['initial_root_password']` setting in `gitlab.rb`, it was provided before database was seeded for the first time (usually, the first reconfigure run).
# 2. Password hasn't been changed manually, either via UI or via command line.
#
# If the password shown here doesn't work, you must reset the admin password following https://docs.gitlab.com/ee/security/reset_user_password.html#reset-your-root-password.
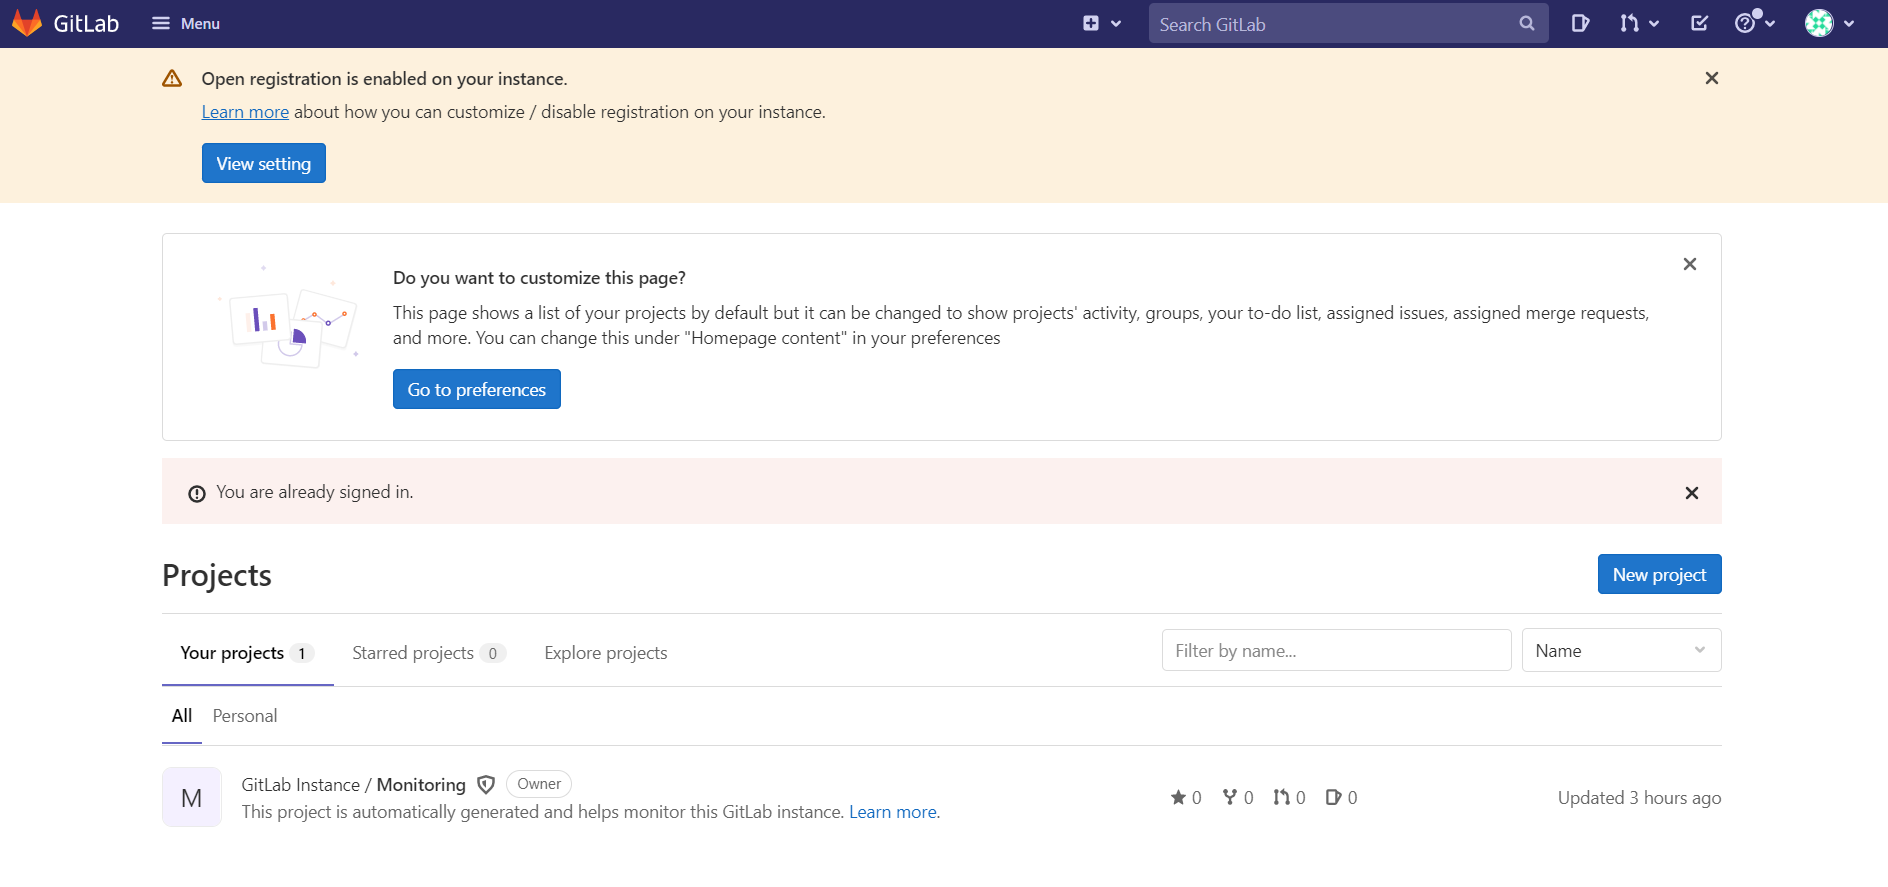
Password: jQLmbSDQ6VX18UKJnw/2C2Cg8UlapN30vxDPFpPtheA=
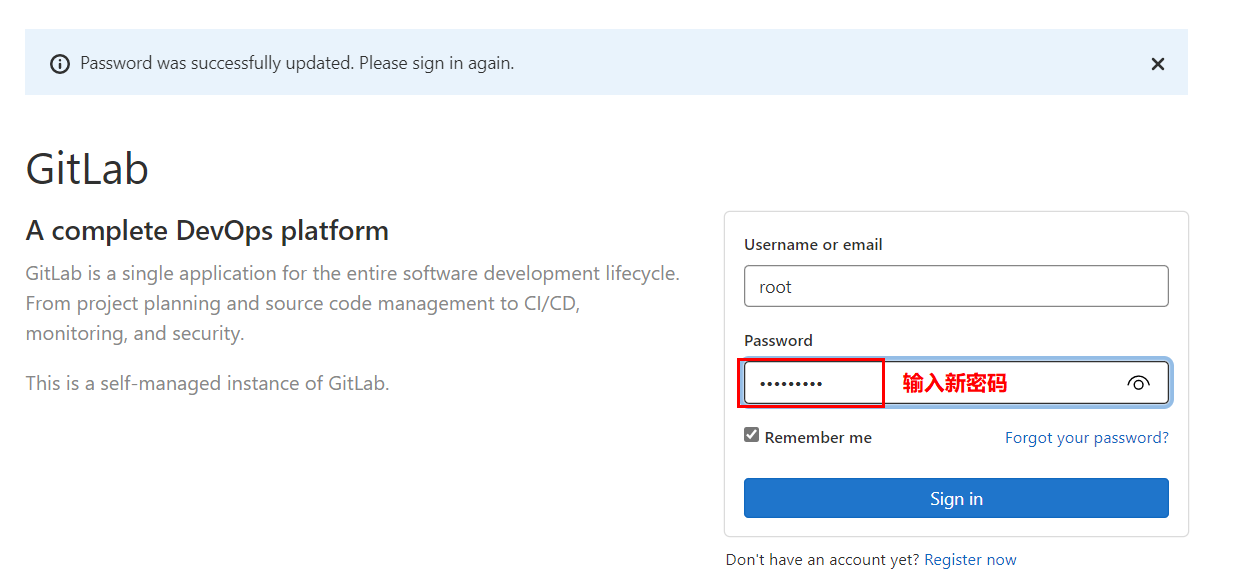
# NOTE: This file will be automatically deleted in the first reconfigure run after 24 hours.使用 root 账号和上面的密码进行登录,登录成功界面如下图所示:
记得修改初始密码
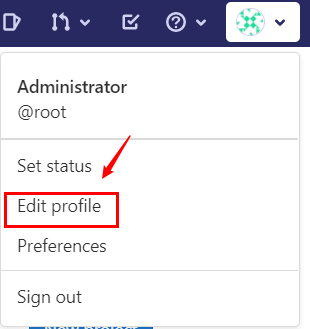
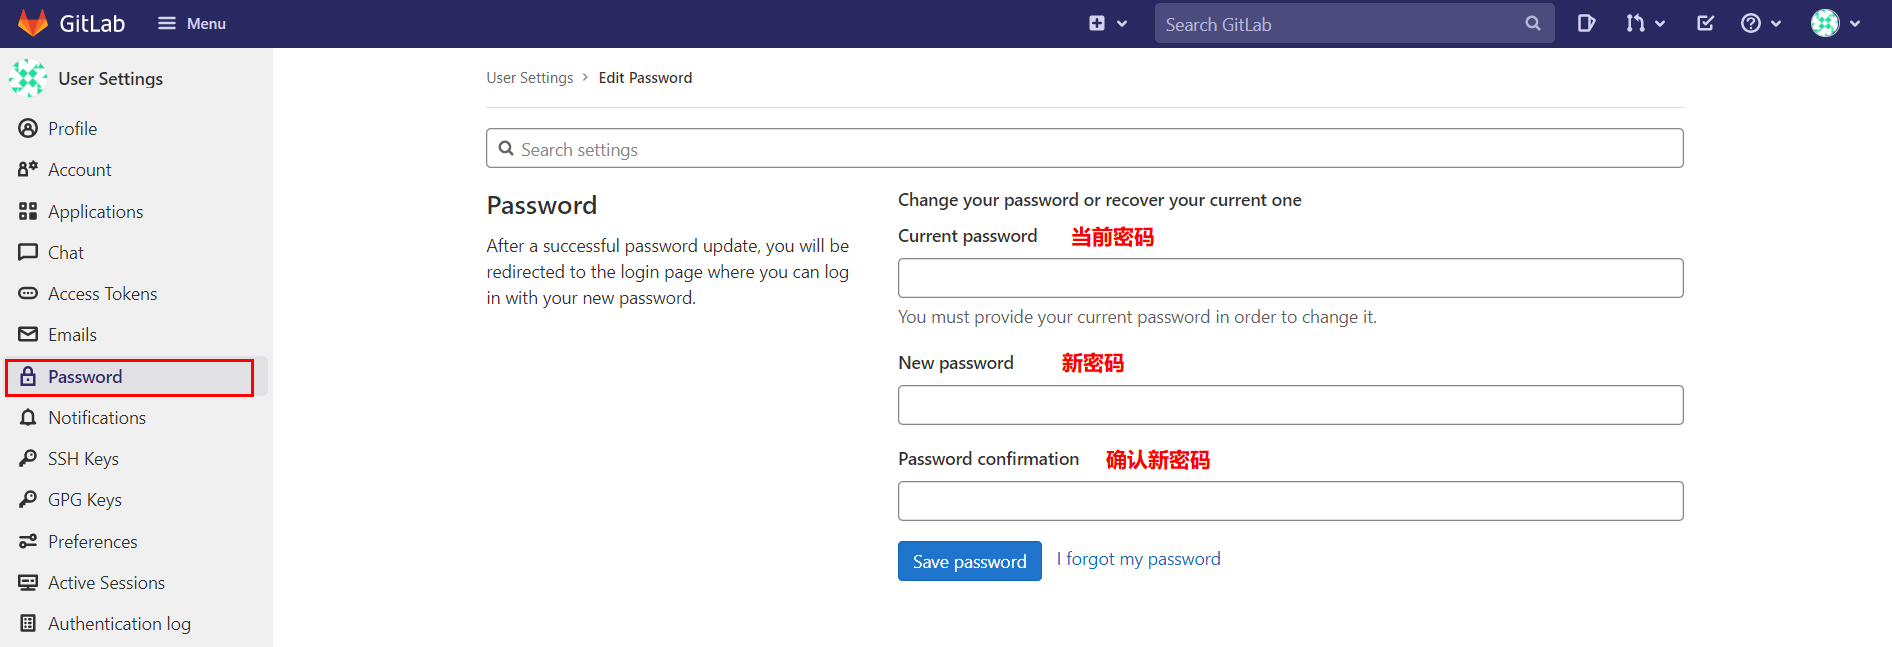
修改好之后,需要重新登录
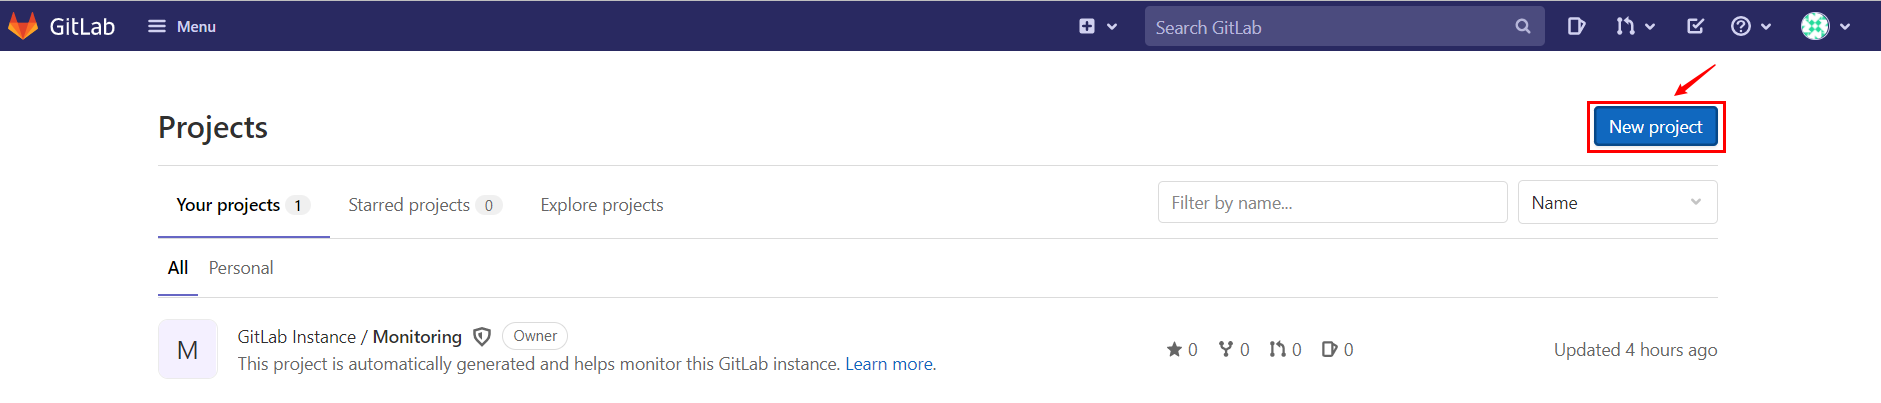
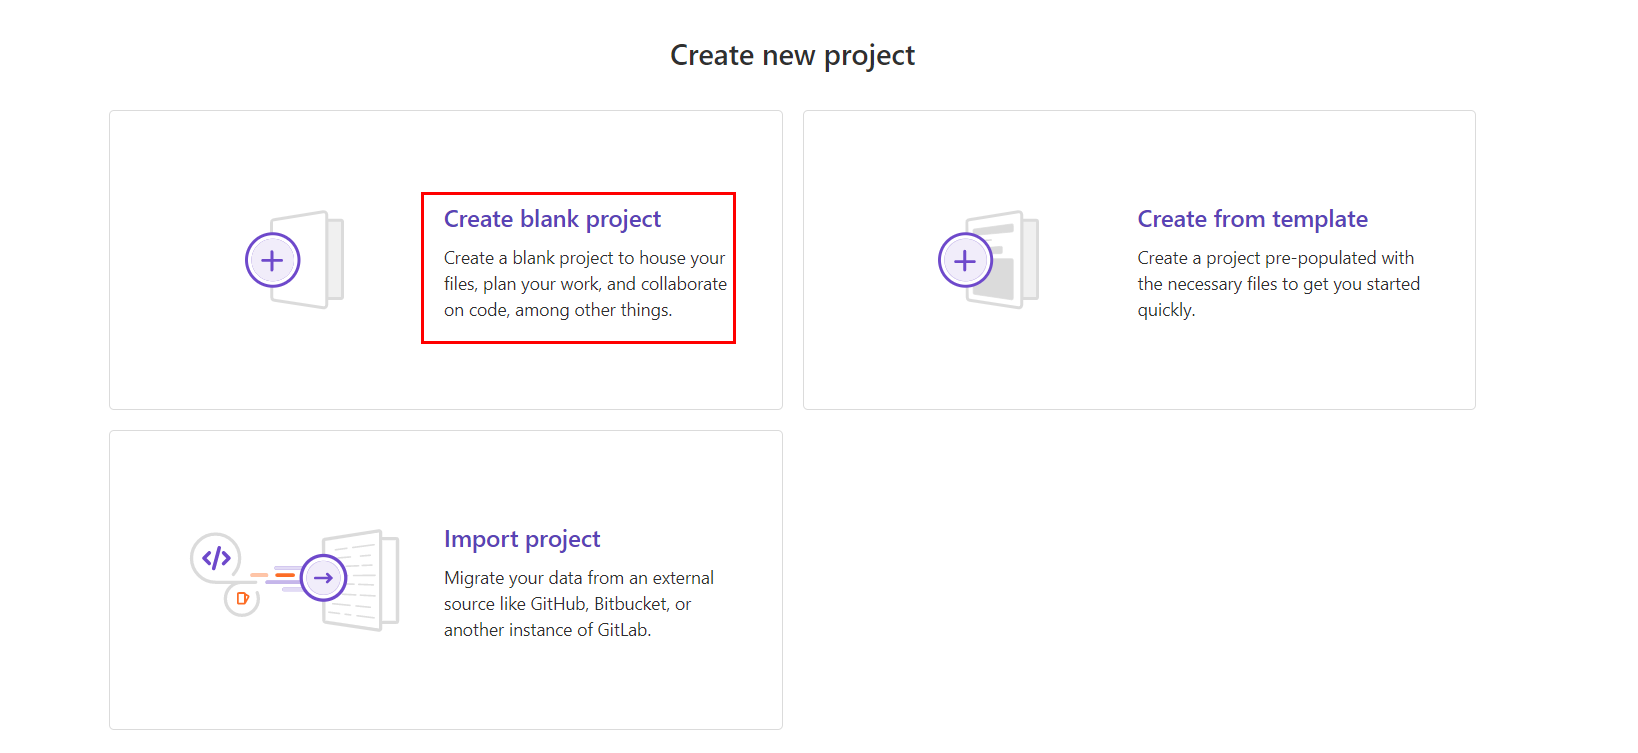
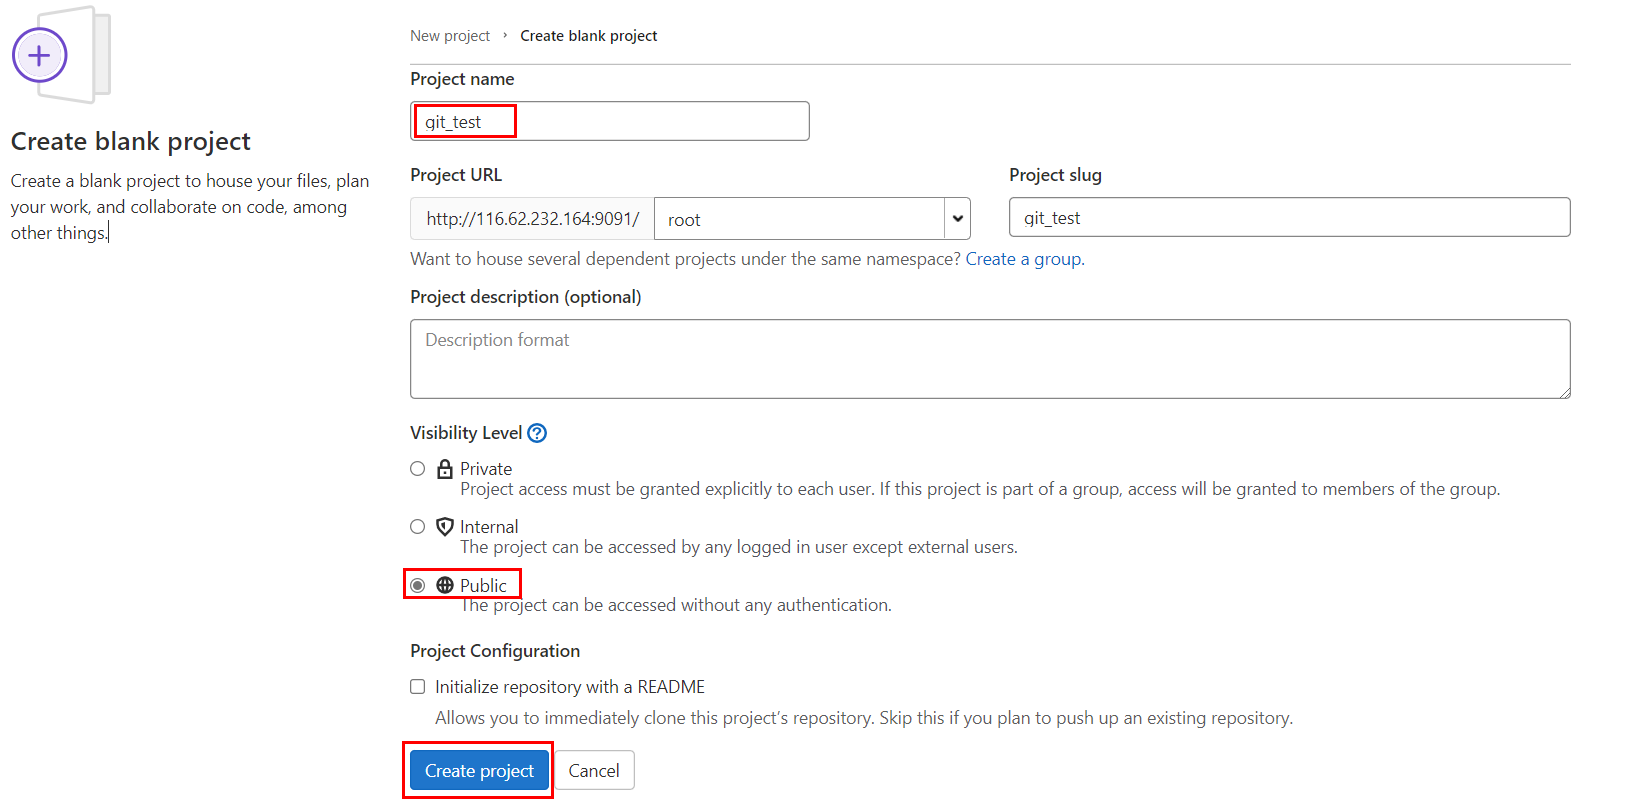
4. GitLab 创建远程库

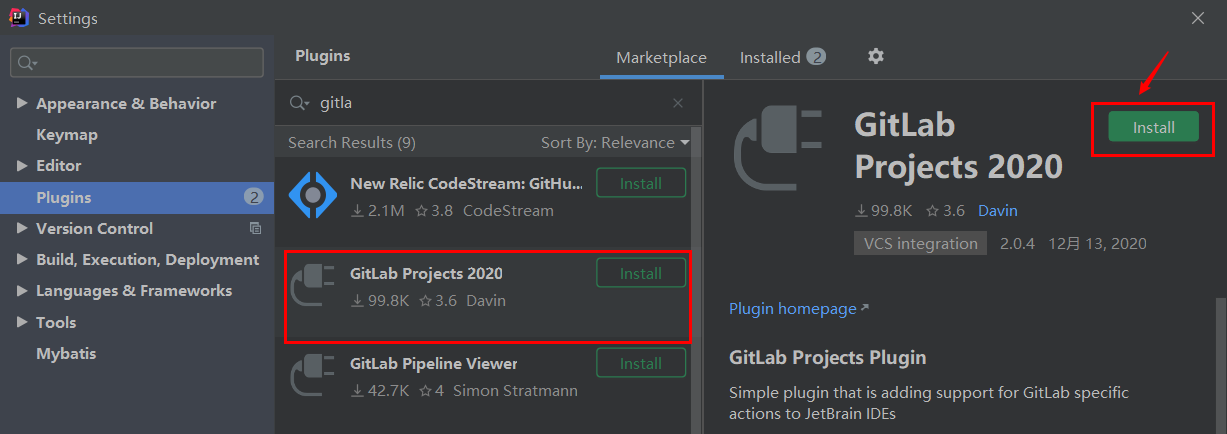
5. IDEA 集成 GitLab
(1)安装 GitLab 插件
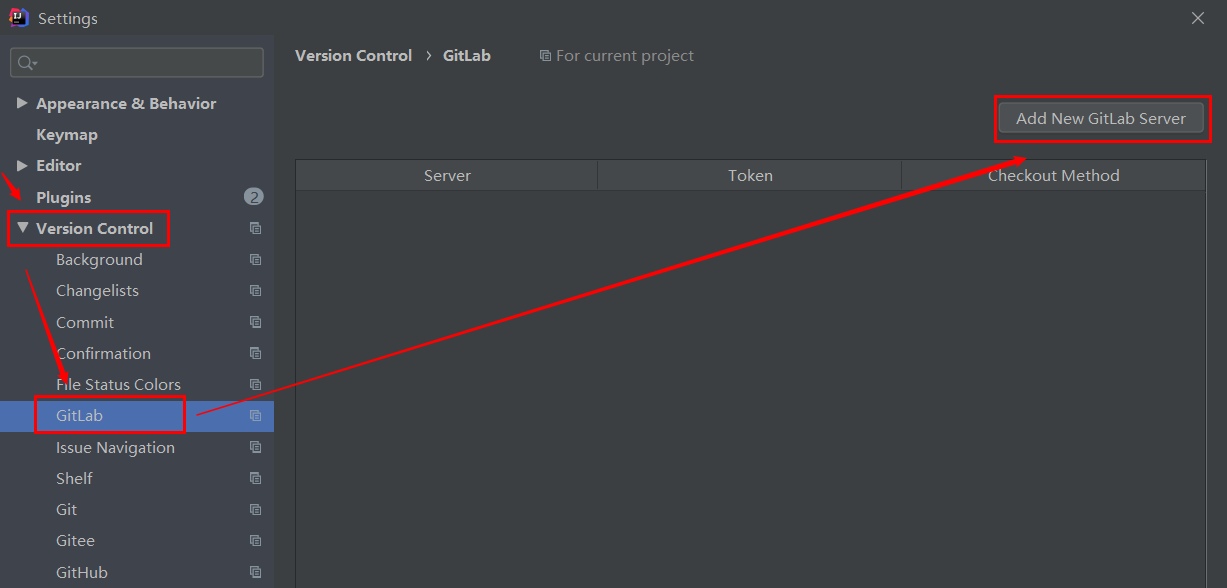
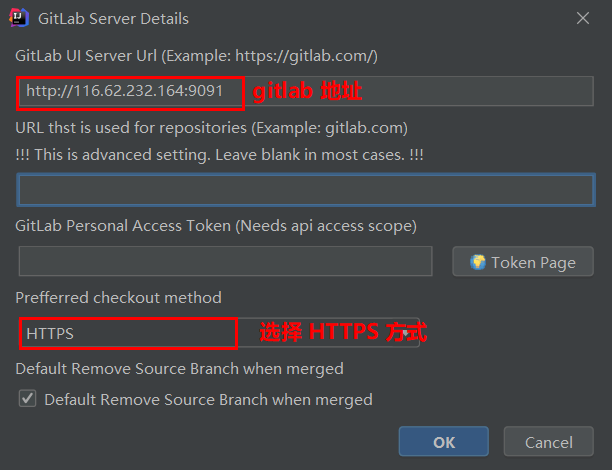
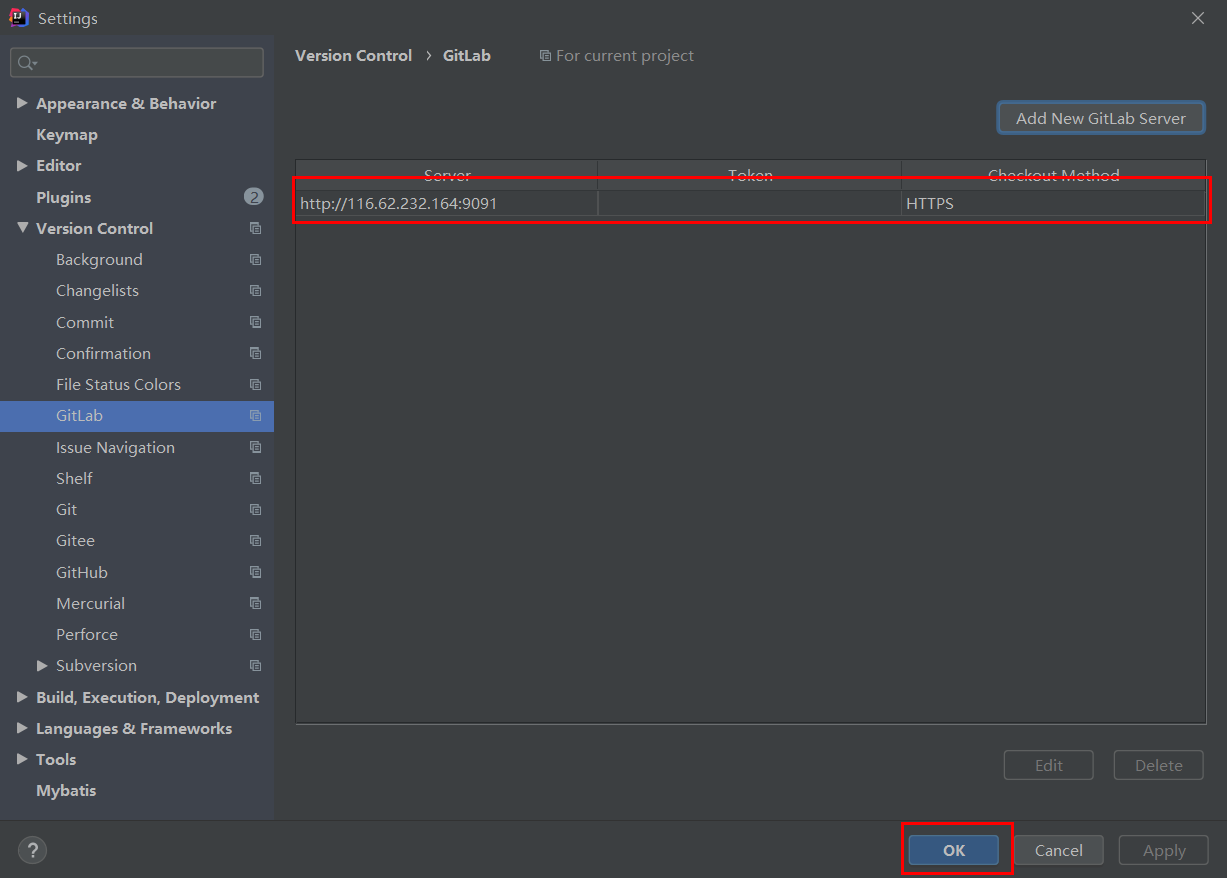
(2)设置 GitLab 插件
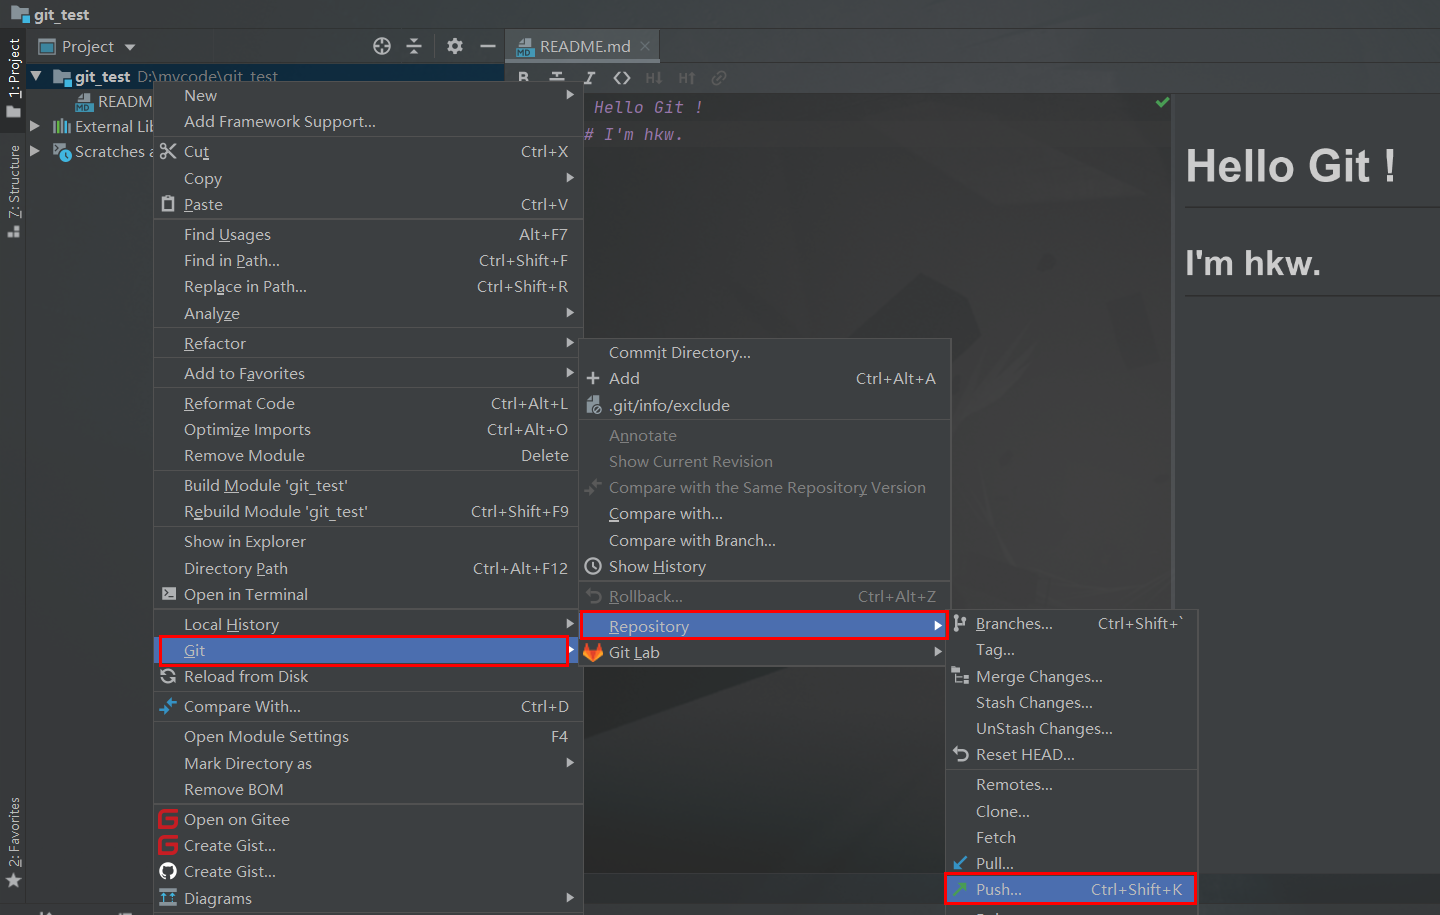
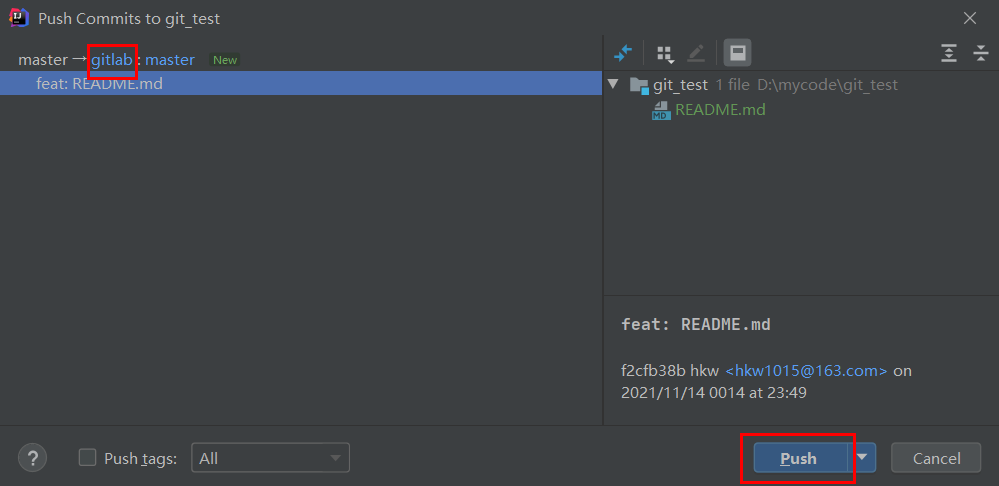
(3)push 本地代码到 GitLab 远程库
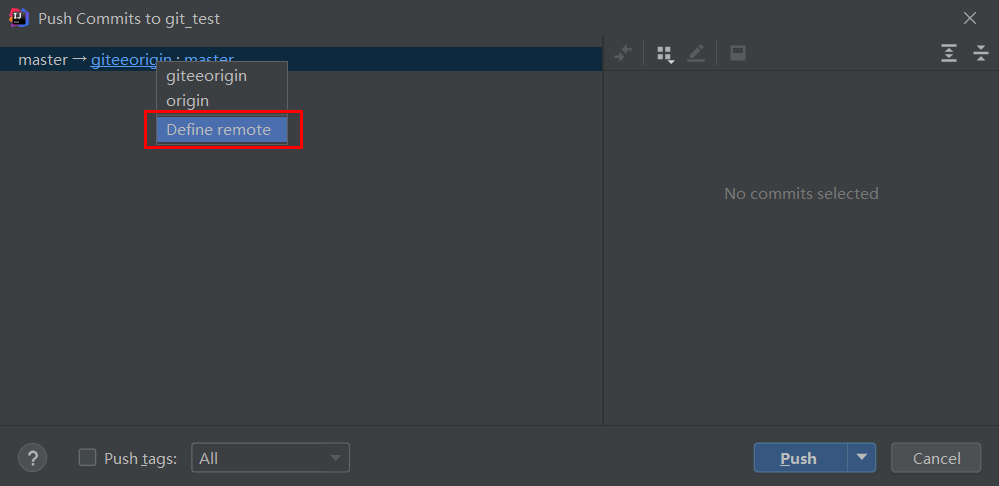
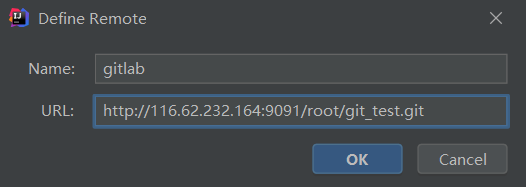
自定义远程库链接
选择 gitlab 远程链接,进行 push
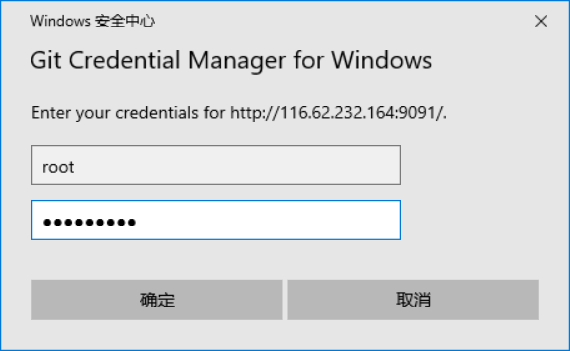
首次连接 gitlab,需要登录账号和密码,用 root 账号和修改的密码登录即可
代码 push 成功


只要 GitLab 的远程库连接定义好以后,对 GitLab 远程库进行 pull 和 clone 的操作和 GitHub 、码云一致,此处不再赘述